
TL;DR:
- Proper planning, redundancy, and secure installation are critical for reliable remote data logging.
- Regular maintenance, calibration, and firmware updates prevent system failures and data inaccuracies.
- Using established platforms and realistic testing ensures long-term performance in critical infrastructure.
A single missed sensor reading at a water treatment facility can trigger a cascade of failures, from pressure anomalies going undetected for hours to regulators issuing non-compliance notices. For operations managers in critical infrastructure, that is not a hypothetical. It happens when monitoring relies on manual rounds, disconnected devices, or loggers that were never properly configured. This guide gives you a field-validated, step-by-step path to setting up remote data loggers that actually hold up, covering everything from pre-installation planning and physical security to troubleshooting firmware errors and optimizing alert thresholds. We draw on proven approaches from leading logger platforms including Solinst, HOBO, and Campbell Scientific.
Table of Contents
- What you need before you start
- Step-by-step remote data logger installation
- Securing your installation and environment
- Troubleshooting and optimizing remote data logging
- Expert perspective: What most guides miss about remote data logger deployment
- Next steps: Reliable remote logging with ThingsLog
- Frequently asked questions
Key Takeaways
| Point | Details |
|---|---|
| Plan ahead | Inventory assets, define monitoring goals, and gather all components before setup. |
| Follow brand-specific steps | Each logger brand has unique and critical setup requirements—reference the correct manual. |
| Secure your deployment | Use robust enclosures, network security practices, and environmental protection for reliability and safety. |
| Test and troubleshoot | Simulate real-world faults, calibrate sensors, and update firmware to address issues proactively. |
What you need before you start
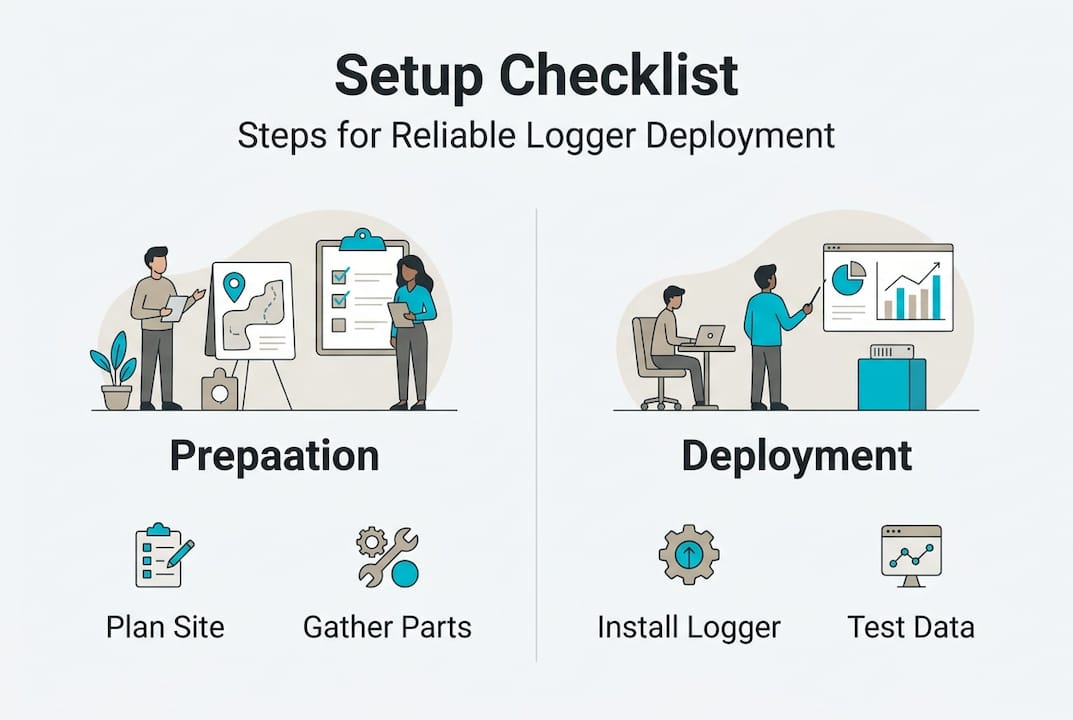
Skipping the planning phase is the single fastest way to create a monitoring blind spot. Before you touch a single device, you need a clear asset inventory and defined key performance indicators. Knowing what you are measuring and why determines every hardware and software decision that follows. Understanding modern data logger basics before you begin will help you avoid costly rework later.
As the Solinst 9200 RRL User Guide outlines, you should define monitoring goals and assets, select tools, and design architecture with redundancy before any field work begins.
| Component | Example models/options |
|---|---|
| Data logger | Solinst 9200 RRL, HOBO RXW series, Campbell CR1000X |
| Sensors | Pressure transducers, temperature probes, pH sensors |
| Antenna | Omnidirectional, directional (site-specific) |
| Power supply | Lithium AA, 12V battery, solar panel |
| Communications | LoRa, NB-IoT, LTE-M, Wi-Fi, Ethernet |
| Software | HOBOlink, LoggerNet, ThingsLog cloud platform |
| Mounting hardware | DIN rail, pole mounts, weatherproof enclosures |
Before finalizing your equipment list, work through these planning considerations:
- Site access: Can technicians reach the device safely for maintenance?
- Power source: Is grid power available, or is battery/solar the only option?
- Mounting position: Does it maintain line-of-sight for wireless communication?
- Environment rating: Does the enclosure match the IP rating required for the site?
- Data intervals: What logging frequency balances resolution with battery life?
Following setup best practices from the start reduces rework and unplanned downtime significantly.
Pro Tip: For any critical site, build in redundancy from day one. That means a backup logger, dual SIM connectivity where possible, and at least one spare sensor on the shelf. Redundancy is not a luxury in critical infrastructure; it is a design requirement.
Step-by-step remote data logger installation
With your plan and devices ready, you can proceed to hands-on installation. The sequence below applies broadly across wireless and wired deployments, with vendor-specific notes where the process diverges.
- Mount the enclosure at the approved location, ensuring it is level and protected from direct water ingress.
- Install the power source with correct polarity. Reversed polarity is one of the most common field errors and can permanently damage a logger.
- Connect sensors to the correct terminals. For Campbell Scientific loggers, verify wiring against the CRBasic channel assignments before powering on.
- Attach the antenna securely and orient it for maximum signal gain toward the nearest gateway or base station.
- Power on the logger and confirm the LED status indicators match the expected startup sequence per the vendor manual.
- Join the network. For HOBO wireless devices, allow up to 10 minutes for network join time after battery installation; mount height above 6 feet improves signal reliability. For Solinst RRL units, the IP67-rated housing must be fully sealed before outdoor deployment, and solar panel connections should be verified before sealing.
- Configure scan rates and protocols. As the Campbell CR1000X manual specifies, use EZSetup for communications configuration, CRBasic for custom programming, and ensure each device has a secure unique ID assigned.
- Run a calibration check on all connected sensors before logging live data.
- Verify data transmission in the software dashboard and confirm readings are within expected ranges.
The Solinst 9200 RRL guide confirms that battery installation, antenna connection, datalogger wiring, software configuration, network joining, and field mounting must all be completed in sequence for reliable operation.
| Step | Wireless setup | Wired setup |
|---|---|---|
| Connectivity | Network join via LoRa/NB-IoT | Direct Ethernet/RS-485 cable |
| Antenna | Required, orientation critical | Not required |
| Latency | Higher (seconds) | Lower (milliseconds) |
| Power | Battery/solar preferred | Grid or PoE viable |
| Vendor config tool | HOBOlink, LoggerNet | LoggerNet, direct serial |
Warning: Never submerge a logger that is not rated IP67 or higher. Even brief water exposure can destroy internal electronics and corrupt stored data. Always verify the enclosure seal before field deployment.
For additional data logger deployment tips and detailed setup documentation, review vendor-specific resources before going live.
Securing your installation and environment
Now that setup is physically complete, you need to make it resilient against both environmental and cyber threats. Physical exposure and network vulnerabilities are equally capable of taking a monitoring system offline.
Physical security essentials:
- Use lockable enclosures for all logger and communications hardware at accessible sites.
- Route cables through rigid conduit to prevent rodent damage and mechanical wear.
- Install anti-biofouling guards on underwater or submerged sensors to maintain reading accuracy.
- Position solar panels and antennas to avoid shading, vandalism, and mechanical interference.
- Follow protective enclosure tips relevant to your site’s specific environmental conditions.
Cybersecurity steps:
- Enforce TLS encryption and zero-trust network access for all remote connections.
- Assign unique device IDs and rotate credentials on a defined schedule.
- Use reliable, well-documented protocols such as TCP/TLS rather than legacy or unencrypted options.
- Apply least-privilege access policies so each device can only communicate with authorized endpoints.
- Reference secure monitoring in practice for real-world implementation examples.
As field-tested security guidelines and the OT Cybersecurity Insights Center both confirm, secure installation practices require enclosures, correct mounting, redundancy, line-of-sight for wireless links, and network security protocols working together.
Critical reminder: Environmental proofing is not a one-time task. Schedule quarterly inspections to check for corrosion, cable wear, biofouling, and enclosure seal integrity. A logger that was perfectly installed can fail within a season if maintenance is deferred.
Pro Tip: Before deploying any security agent or monitoring software update, test its impact on logger CPU load and transmission latency in a staging environment. Some security agents have caused measurable performance degradation on resource-constrained field devices.
Troubleshooting and optimizing remote data logging
After setup and security, ongoing reliability depends on effective troubleshooting and optimization. Most field failures are predictable and preventable with the right diagnostic approach.
The Onset HOBO RXW-TMB-X manual identifies battery life, network joining failures, calibration drift, environmental protection gaps, and incorrect log intervals as the top sources of field problems.
- Battery failure: Alkaline batteries lose capacity rapidly below 0°C. Switch to lithium AA cells for cold-climate deployments. Review battery management strategies for guidance on extending power life in remote sites.
- Network joining errors: Error 135 on HOBO wireless devices indicates a firmware mismatch between the logger and the network. The fix is straightforward: update the logger firmware via HOBOlink before attempting to rejoin the network. Always confirm firmware versions match across all nodes in a HOBOnet deployment.
- Firmware drift: Outdated firmware introduces security vulnerabilities and can cause unexpected resets. Set a quarterly firmware review cycle and document version changes.
- Calibration drift: Sensors shift over time, especially pH and conductivity probes. Follow the sensor calibration reference for HOBO specialty loggers, and build calibration checks into your preventive maintenance schedule.
- Log interval mismatches: Logging every 15 seconds when hourly data is sufficient drains batteries and fills storage faster than necessary. Tune intervals to match actual operational needs, not default settings.
For real-world troubleshooting cases that show how these issues appear in live deployments, reviewing documented case studies is more instructive than relying on spec sheets alone.
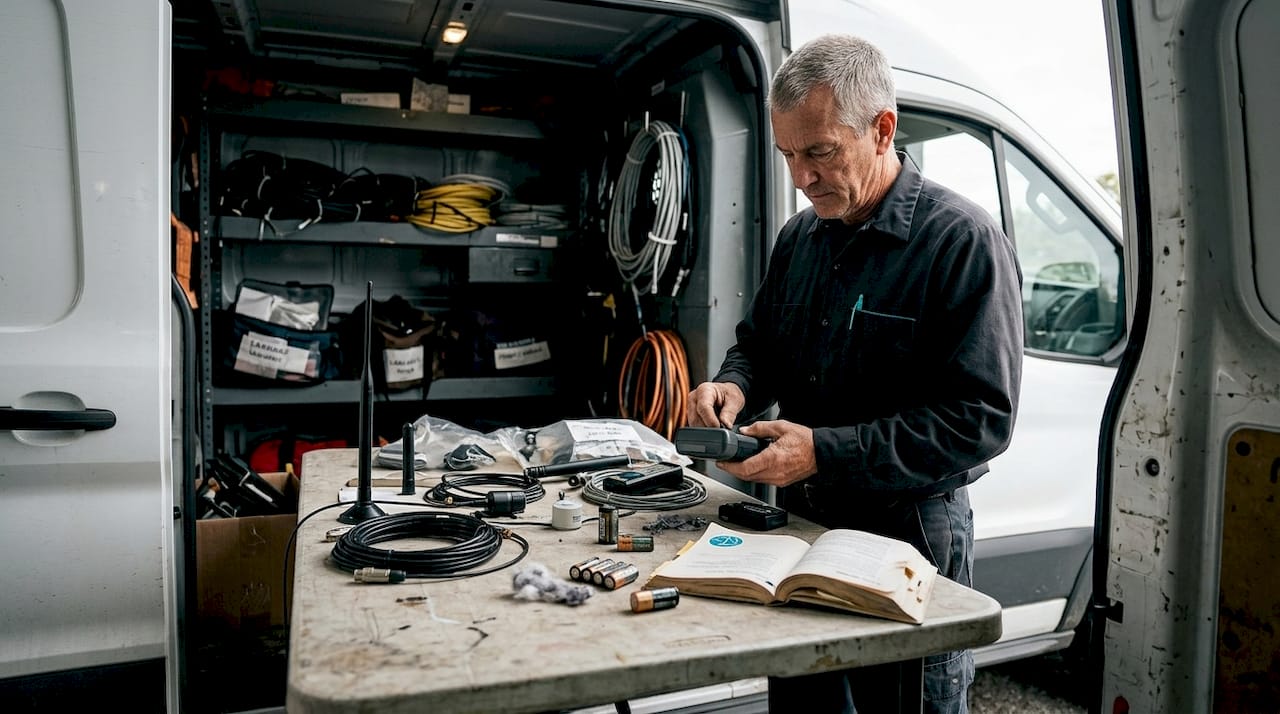
Maintenance essentials to keep on hand: spare lithium batteries, a replacement antenna, one spare sensor per type deployed, firmware update files stored offline, and a calibration kit.
Pro Tip: Do not set alert thresholds too tightly. If every minor variance triggers an alarm, operators start ignoring notifications. Set thresholds that flag genuine anomalies, and document the reasoning behind each threshold so future team members understand the logic.
Expert perspective: What most guides miss about remote data logger deployment
Most setup guides treat deployment as a purely technical exercise. Follow the steps, match the wiring diagram, and you are done. In practice, the difference between a system that runs for five years and one that fails in the first winter comes down to decisions that no manual covers.
Vendor selection is one of them. For critical infrastructure, we consistently recommend sticking with established platforms like Solinst, HOBO, and Campbell Scientific rather than lower-cost generic alternatives. The reason is not just hardware quality; it is the depth of firmware support, documentation, and the community of field engineers who have already solved the problems you will encounter.
Hands-on testing before go-live matters more than spec sheet comparison. Test for real-world latency, sensor disconnect recovery, and network failover under conditions that match your site, not a controlled lab environment. You will find failure modes that theoretical specs never reveal.
On security, the choice between unidirectional gateways and zero-trust remote access is not just a technical preference. It is a risk posture decision that should involve your OT security team. And on scale, wireless sensor networks have hard limits on hop counts and node density. Plan your network topology for the system you will need in three years, not the one you are deploying today. Deployment lessons from real projects consistently show that under-planning for scale is the most expensive mistake to fix after go-live.
Next steps: Reliable remote logging with ThingsLog
Ready to move from manual steps to scalable, automated monitoring? ThingsLog’s IIoT solution integrates directly with hardware from Solinst, HOBO, Campbell Scientific, and other leading brands, giving you a single platform for data acquisition, cloud analytics, and real-time alerts from day one.
Our cloud and mobile platform supports rapid onboarding, OT security compliance, and connectivity across LoRa, NB-IoT, LTE-M, Wi-Fi, and Ethernet. Whether you are managing a single critical site or scaling across dozens of locations, our custom data logging solutions are designed to match your operational requirements precisely. Contact us to discuss a tailored deployment for your infrastructure.
Frequently asked questions
What is the most common error during remote data logger setup?
Network joining failures due to firmware mismatches, such as error 135, are frequent; updating firmware via the vendor’s configuration software usually resolves this before re-attempting network join.
How do I protect loggers in harsh environments?
Use enclosures rated at least IP67 for physical protection, mount devices at recommended heights, and route cables through conduit to prevent mechanical damage and biofouling.
What power options improve logger reliability?
Lithium AA batteries outperform alkaline in cold conditions; pairing them with a solar panel ensures continuous operation at remote sites where battery replacement is infrequent.
Why is sensor calibration important in remote monitoring?
Proper calibration ensures data accuracy over time; for specialty sensors like pH loggers, follow the HOBO MX2501 calibration procedure before deployment and repeat it on a scheduled basis.
How should alert thresholds be set to avoid alarm fatigue?
Balance alert thresholds to flag genuine anomalies rather than minor variances, and document the reasoning behind each threshold so operators understand when to act.


